The short version
- The safest pose: turn your body 30 to 45 degrees away from the camera, then bring your face back to the lens.
- Push your forehead towards the camera and lower your chin slightly. It feels odd and sharpens the jawline.
- Relax your eyes and smile at something real. Wide eyes and a held grin are what make a photo look stiff.
- Give your hands a job: a pocket, a loose arm cross or a table. In a tight crop, leave them out.
- Match the pose to where the photo goes. A profile picture needs a tight, simple pose. A website bio has room for more.
Four classic headshot poses
These four are the usual starting point, because they work on almost any face and in any crop. If you only try one, make it the first.
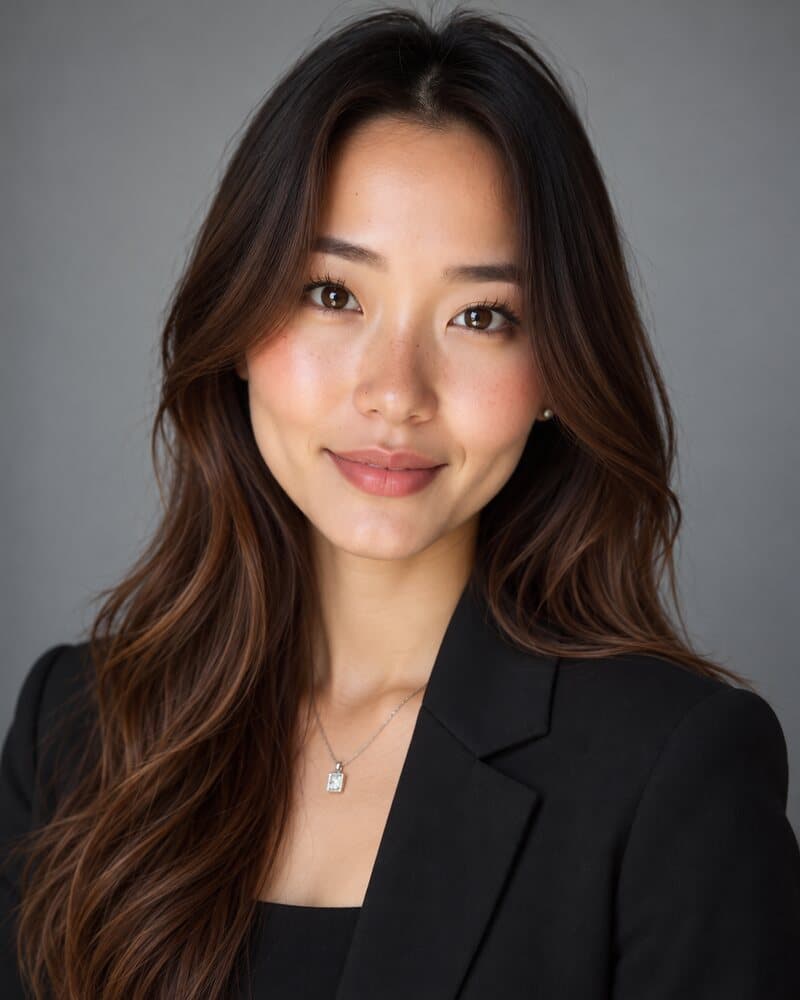
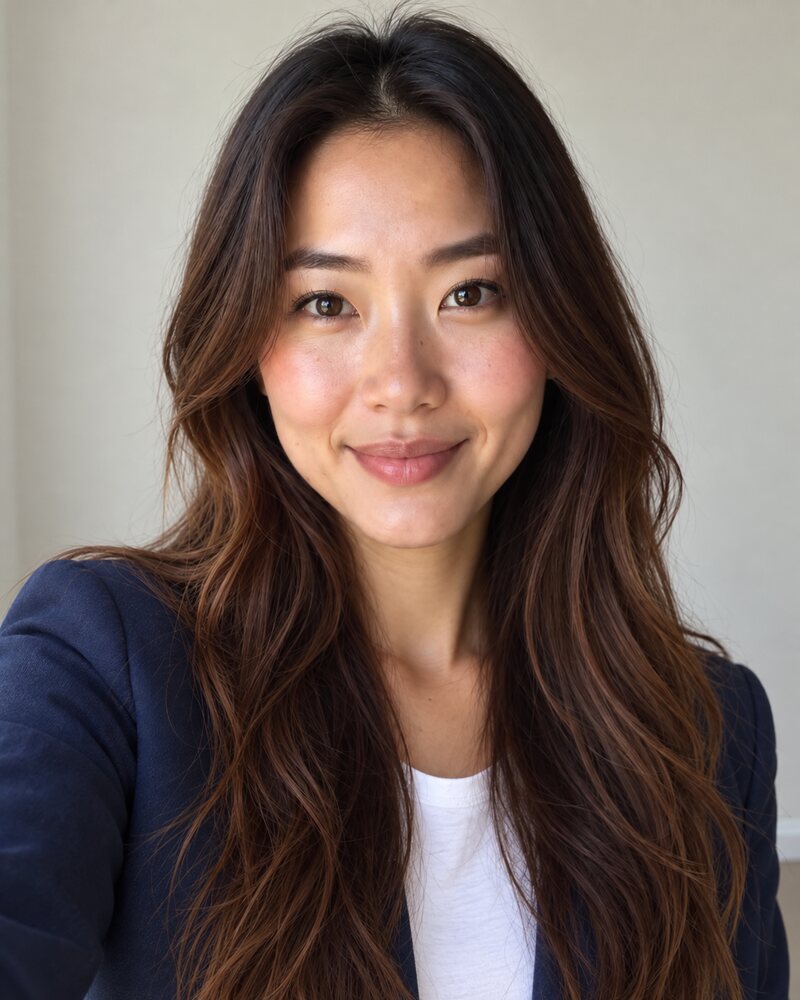
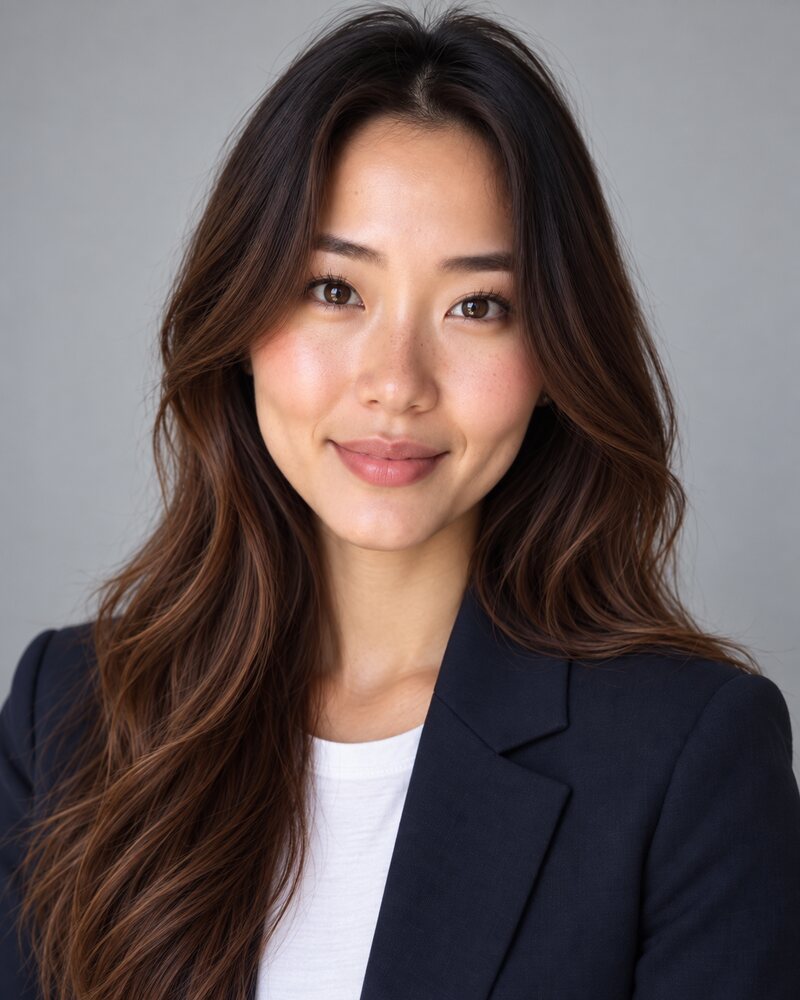
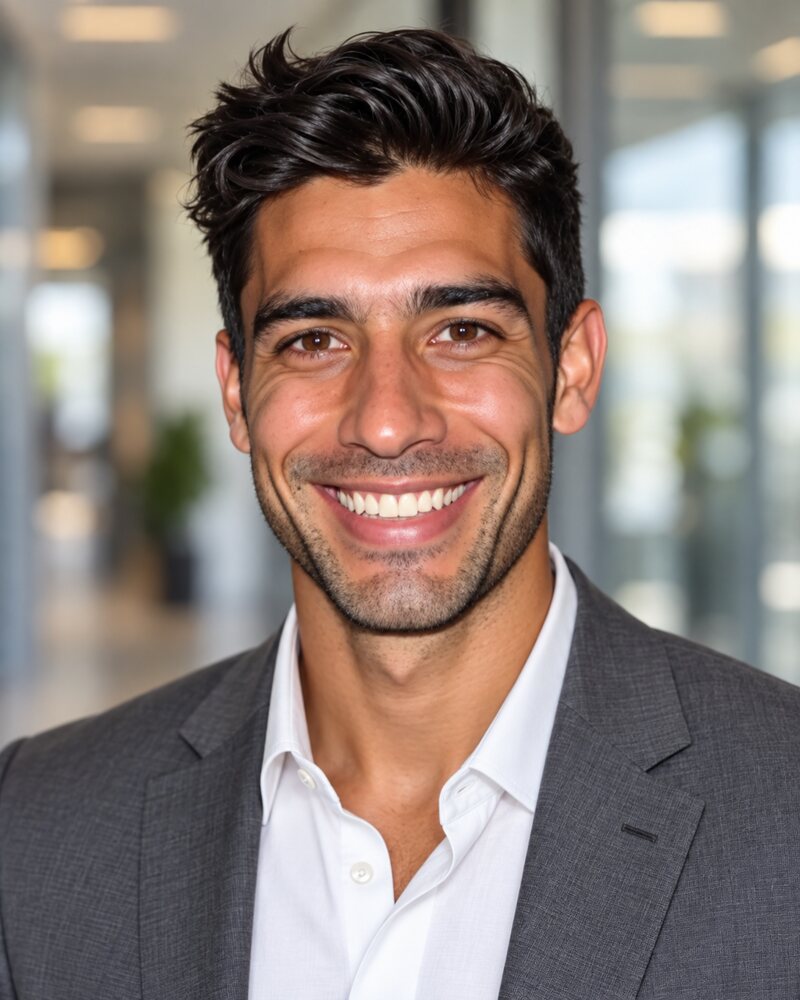
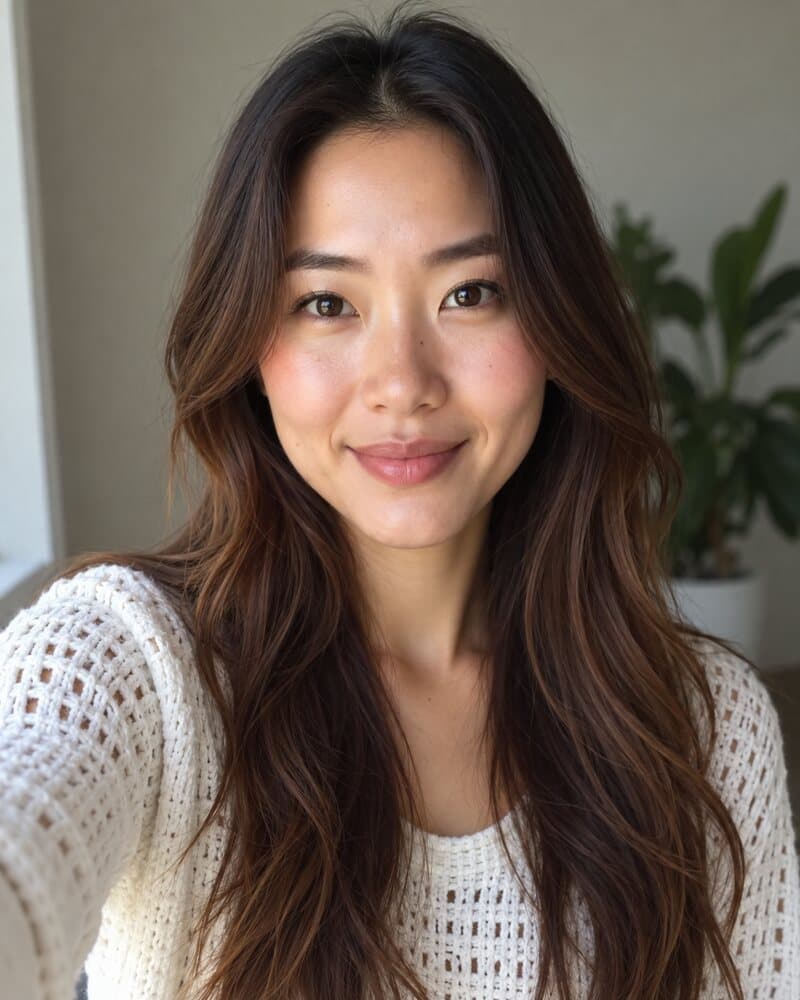
The photos on this page are AI-generated and the people are fictional. The eight poses keep the same person, outfit and backdrop, so the only thing that changes is the pose.
 1
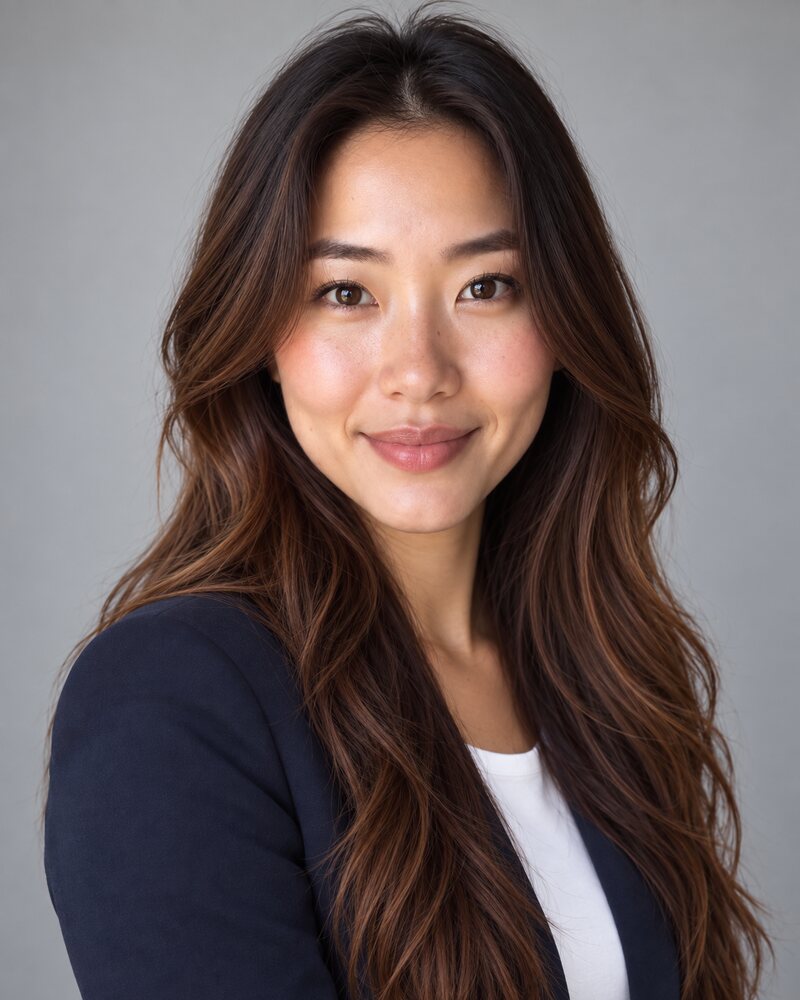
1Shoulders angled, face to camera
Turn your feet and hips 30 to 45 degrees to one side, then bring your face back to the lens. It narrows the shoulders and adds depth. Suits almost everyone and every use.
 2
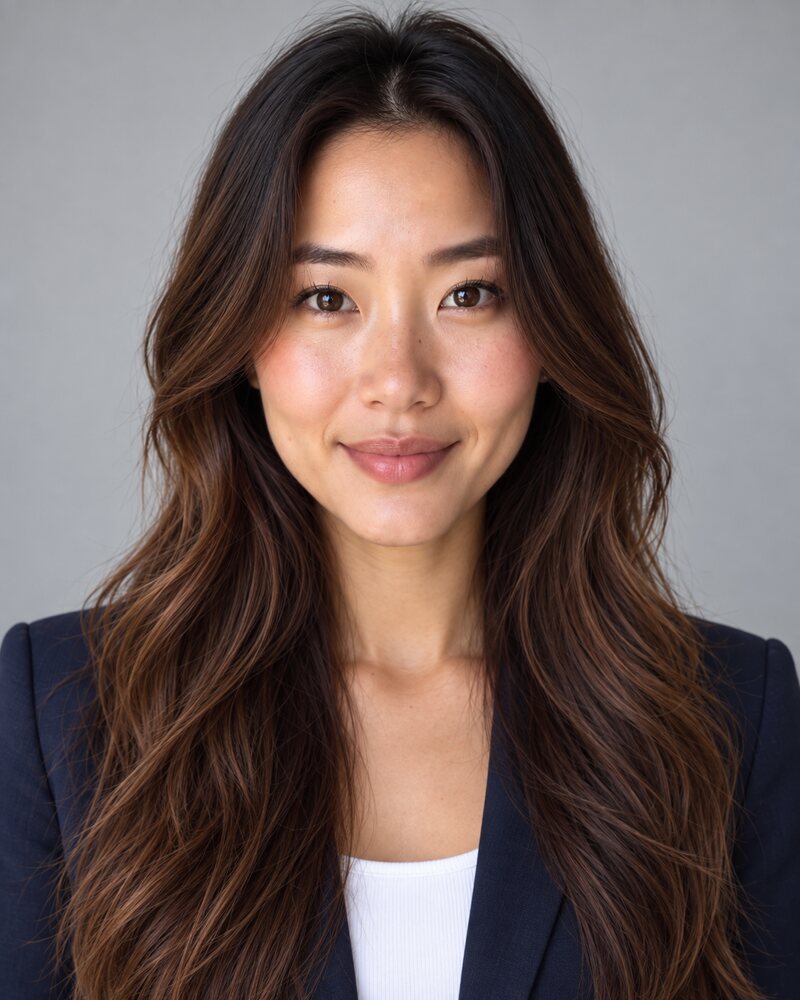
2Straight on
Shoulders square, head level, eyes on the lens. Direct and symmetrical. Suits resume photos, staff directories and anyone who wants to look steady rather than styled.
 3
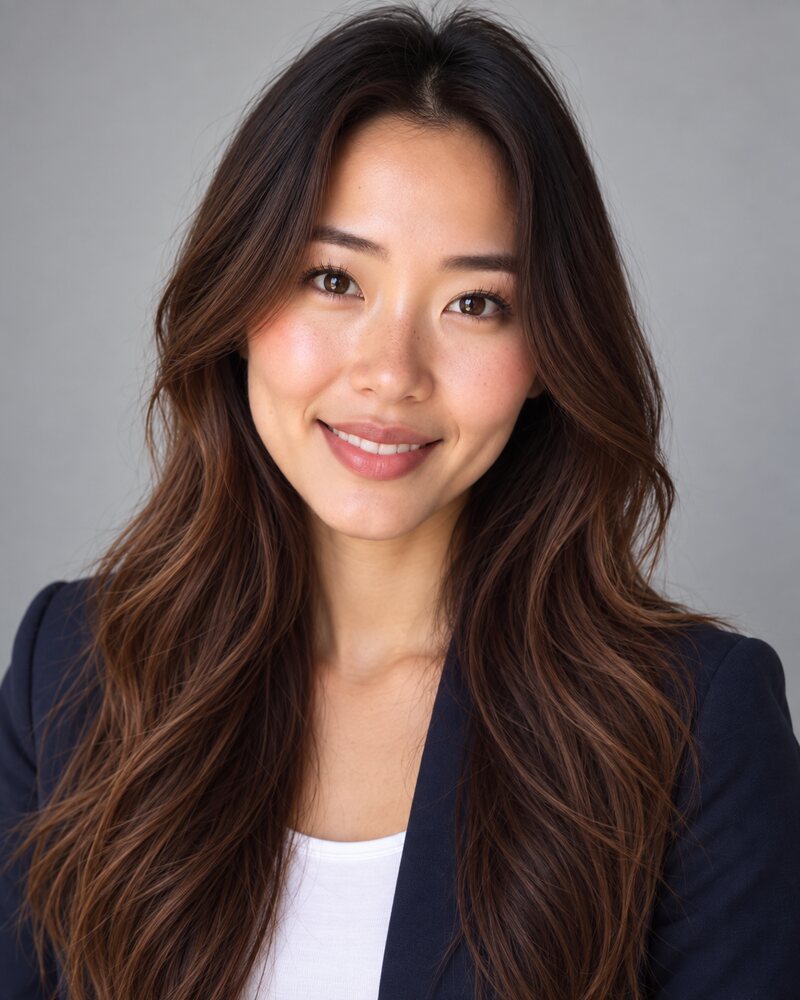
3Slight head tilt
From either pose above, tip your head a few degrees, the way you do when listening. It softens a formal photo. Suits client-facing roles such as advisers, teachers, healthcare and sales.
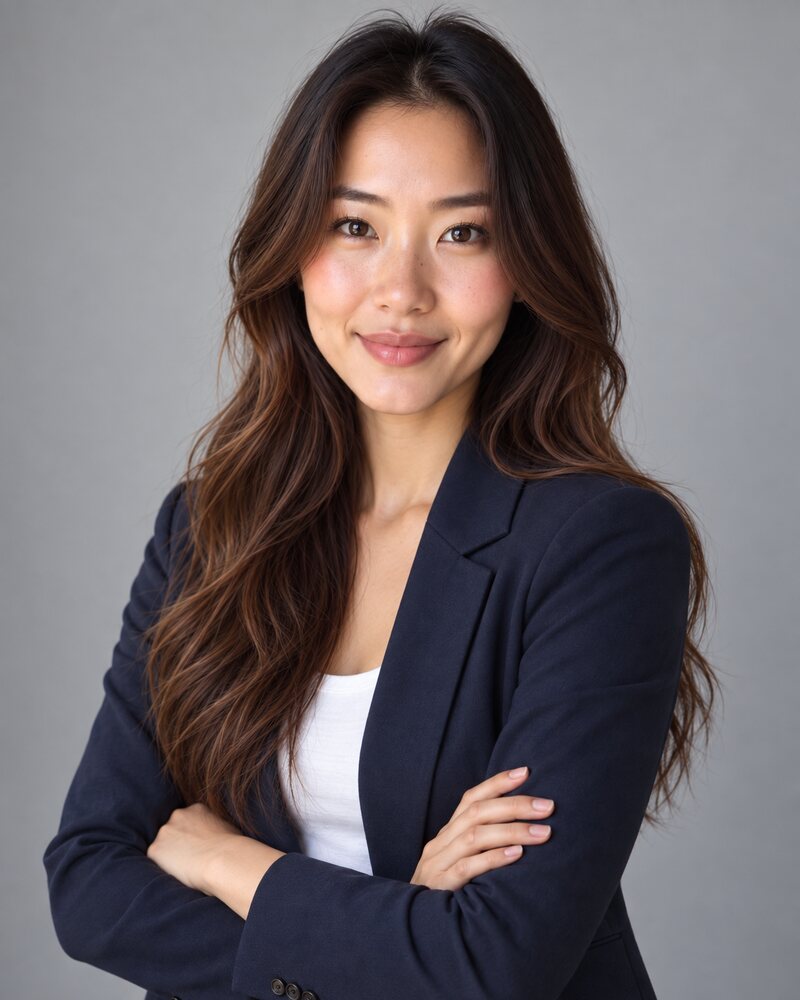 4
4Arms crossed
Angle your body, cross your arms low and loose, and keep your fingers visible and relaxed. It needs a waist-up crop and a smile, or it reads as defensive. Suits founders, managers and agents.
For all four, lean your upper body a little towards the camera from the hips. Leaning back, even slightly, makes you look wary and shortens the neck.
Four poses with more personality
These headshot ideas need a wider crop and a bit more room, so they suit websites, speaker pages and about pages better than a small profile picture.
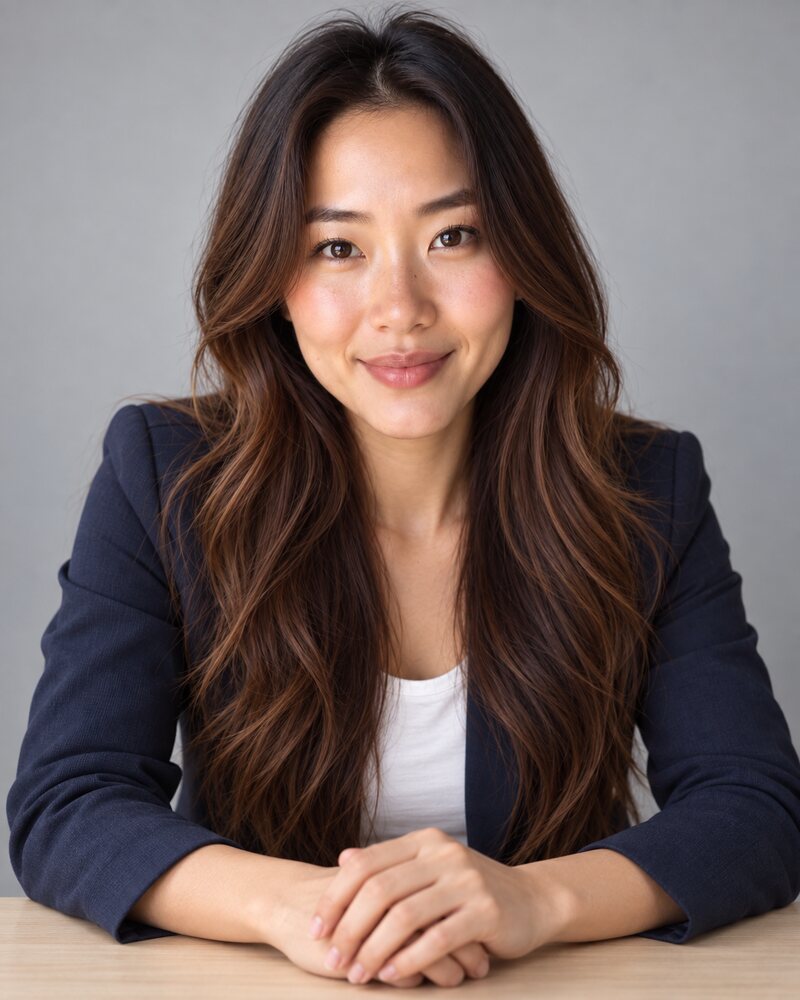 5
5Leaning in
Sit, rest your forearms on a table or your knees, and bring your chest towards the camera. Hands loosely together. You look engaged, like you are listening. Suits coaches, consultants and therapists.
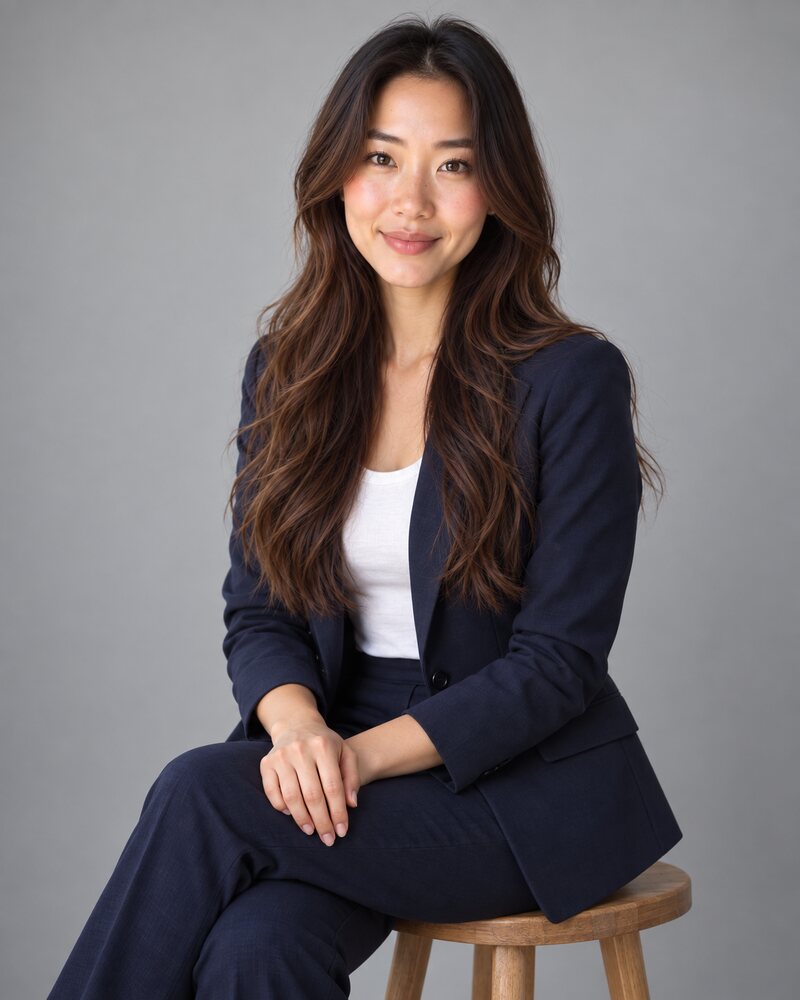 6
6Seated on a stool
Perch on the front edge of a stool, turn your knees away from the camera, keep your back long and rest one hand on the other. Sitting calms nervous posture. Suits longer bios and team pages.
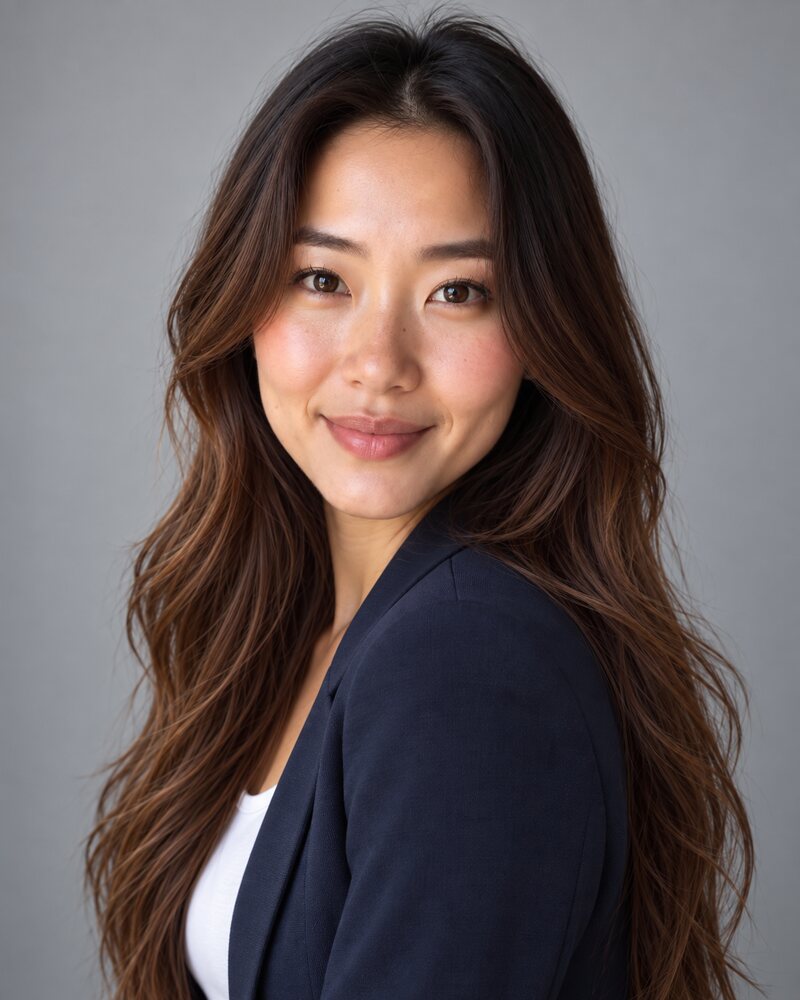 7
7Over the shoulder
Stand almost side-on and look back at the lens over your front shoulder. Keep your chin clear of the shoulder. It feels less staged. Suits creative work, authors and personal sites.
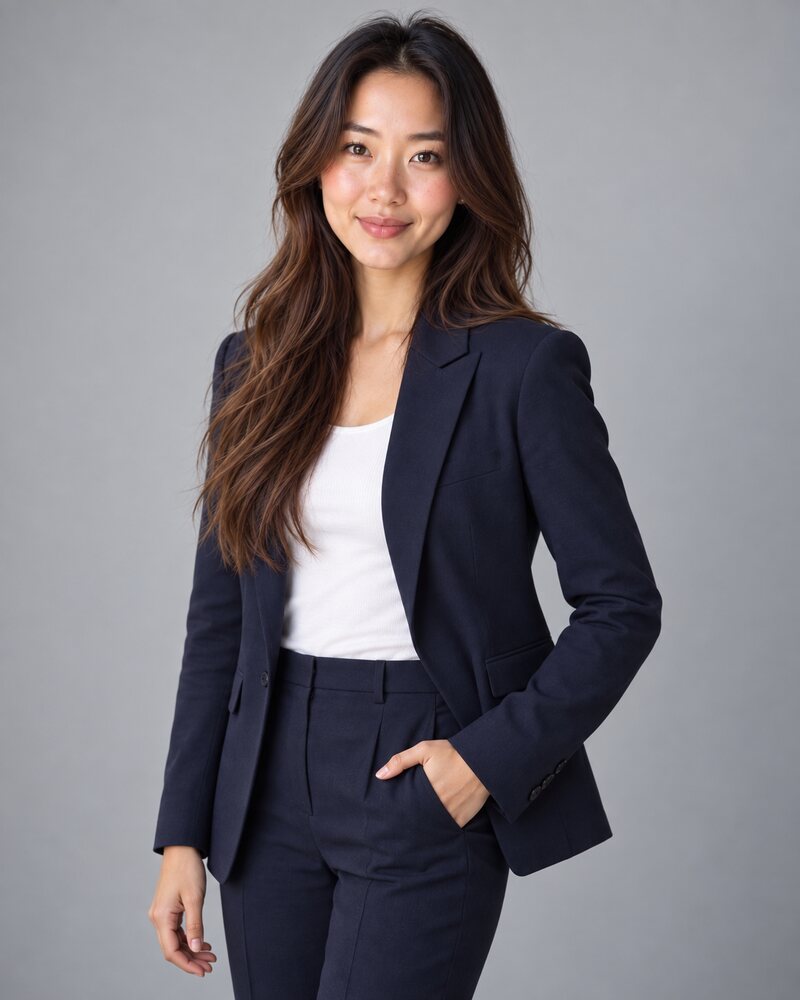 8
8Standing three-quarter
Framed from mid-thigh up. Angle your body, put your weight on the back foot and give one hand a pocket. It shows what you wear and how you stand. Suits real estate, speakers and press kits.
A headshot is still about the face. If the photo will be shown small, crop poses 5 to 8 down to head and shoulders, or pick one of the first four. When you crop, cut between joints and not at them: mid-forearm or mid-thigh looks deliberate, while a cut at the wrist or knee looks like a mistake.
Headshot tips that matter more than the pose
A good pose with a tense face still makes a bad headshot. These six adjustments take a few seconds each and do more than any change of stance.
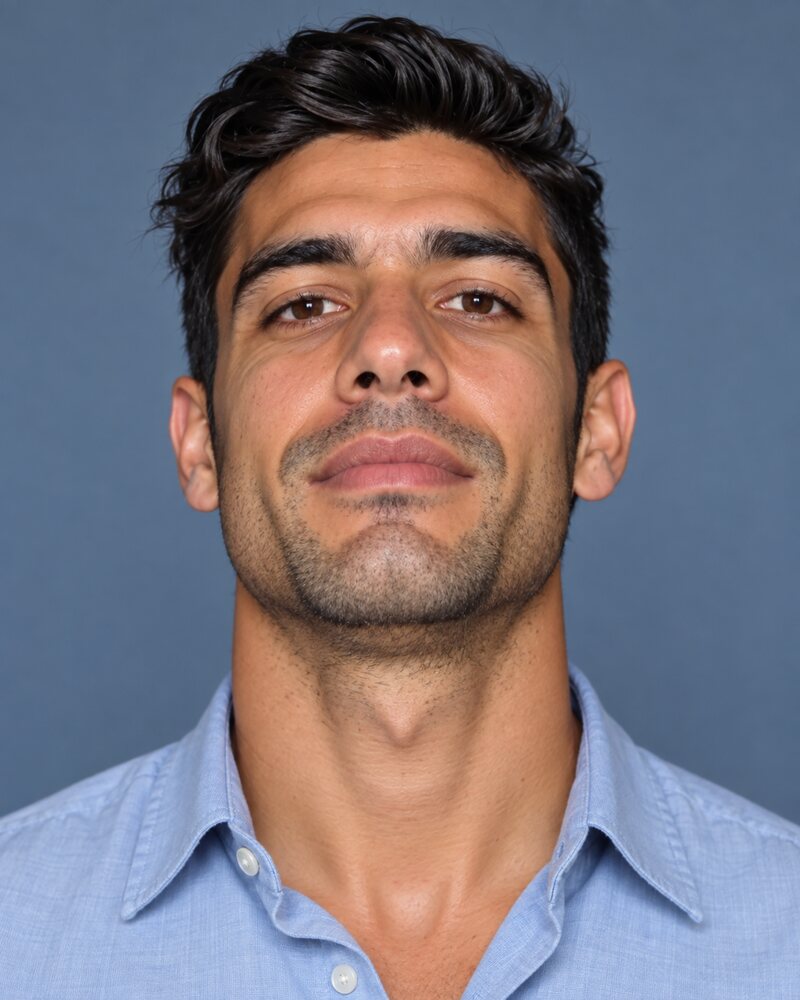 Example to avoid
Chin up, head back
The camera looks up the nose and the jawline sinks into the neck.
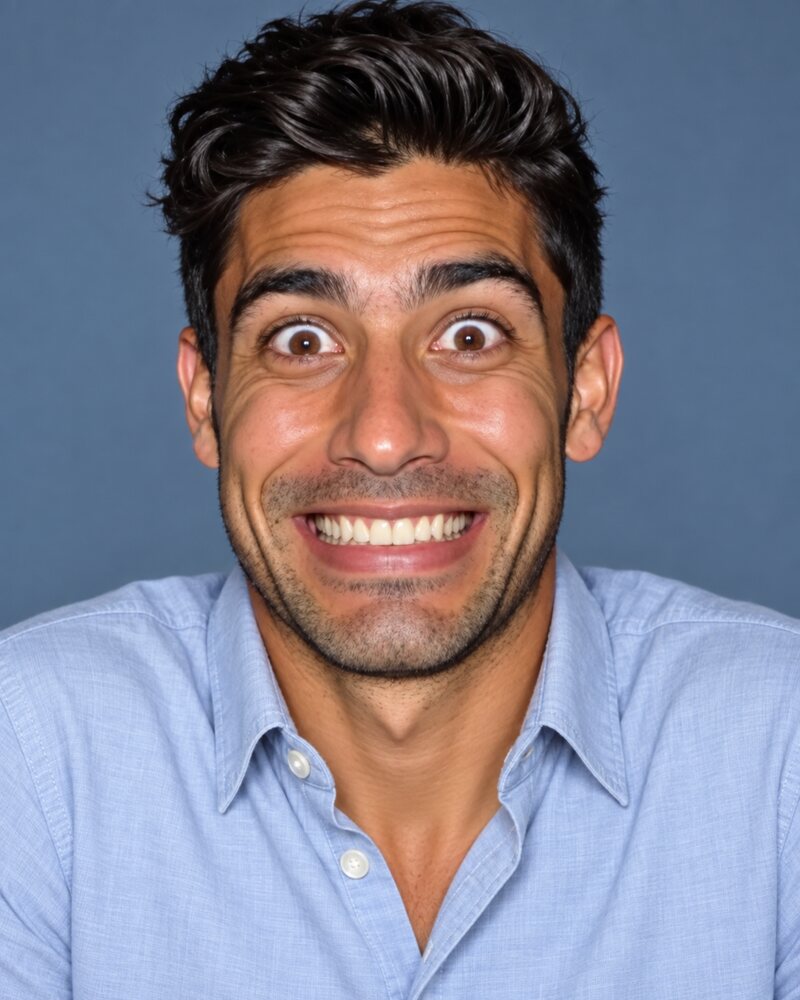 Example to avoid
Wide eyes, held grin
Raised brows and a smile held too long read as nervous.
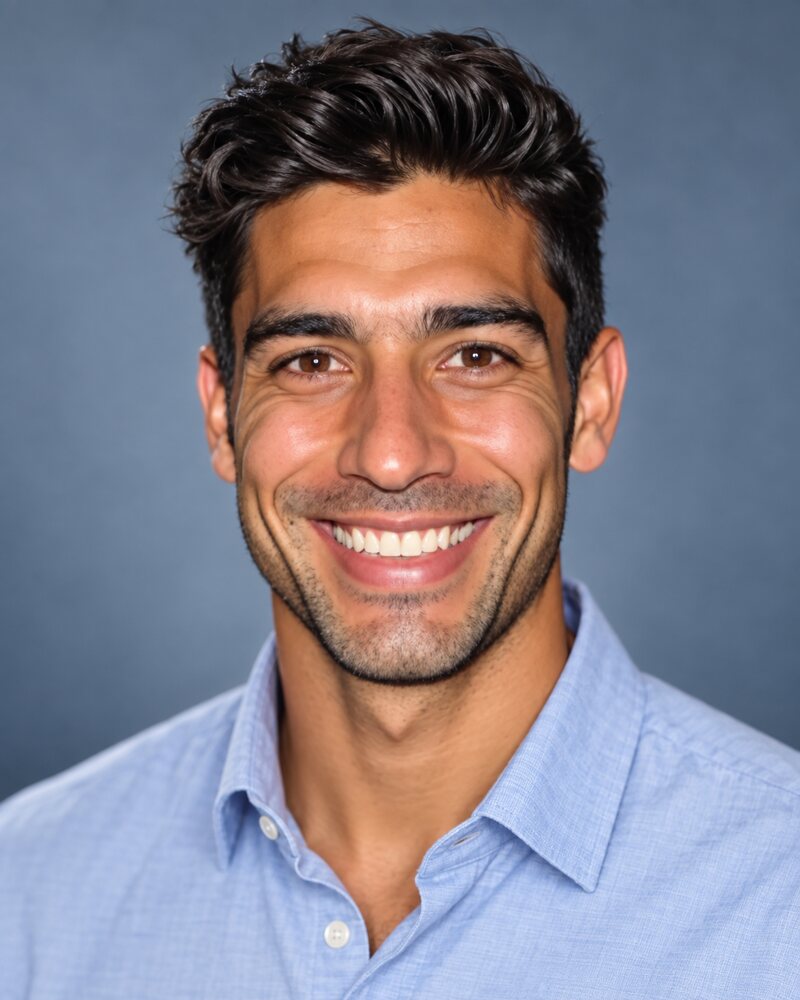 Good example
Chin forward, eyes relaxed
Forehead towards the lens, lower lids lifted, a smile that reaches the eyes.
Chin: forward, then slightly down
Push your forehead towards the camera, as if you were looking over a low fence, then lower your chin a little. From the side it looks ridiculous. From the front it stretches the skin under the jaw and draws a clean jawline. Do not tuck your chin back towards your neck, which does the opposite.
Eyes: relax the lower lids
Wide-open eyes look startled. Photographer Peter Hurley named the fix the squinch in a 2013 video: raise your lower eyelids slightly and leave the upper lids alone. It is not a squint, where both lids close. Think of the look you give a friend who has just said something clever.
Smile: use a real one
A smile held for the camera goes flat quickly. Look away, breathe out, think of someone who makes you laugh, then look back and take the photo straight away. Teeth or no teeth is your choice. Take both and keep the one that looks like you on a good day.
Posture: tall, then shoulders down
Imagine a string lifting the crown of your head, then drop your shoulders away from your ears and breathe out. Raised shoulders shorten the neck and are a clear sign of nerves.
Hands: give them a job
Hands that hang or hover look awkward. Put one in a pocket with the thumb out, rest them on a table, or cross your arms loosely. Keep the fingers soft and together, never in fists or pressed flat. In a head-and-shoulders crop, leave them out of the frame.
Which side: test both
Most faces are slightly asymmetrical and most people prefer one side. Take the angled pose facing left, then facing right, and compare the two side by side. If you part your hair, turning the parting towards the camera often shows more of your face.
Light and camera distance matter as much as any of this. The guide to taking your own headshot covers both.
Headshot poses for men and for women
The fundamentals do not change with gender: angle the body, bring the chin forward, relax the eyes. What differs is mostly convention and clothing, and you can ignore the convention.
- Headshot poses for men. Squarer shoulders look broader and more formal, so many men turn only a little. Arms crossed and a hand in a pocket both work with a jacket. Button the jacket when you stand and undo it when you sit, so it does not pull or bunch. Keep the head level for a formal photo.
- Headshot poses for women. A fuller turn of the shoulders and a small head tilt look warmer. A squarer stance looks more formal. Choose by role, not by rule. With long hair, decide before the photo: both sides forward, both back, or one side tucked behind the ear nearest the camera to show the jawline.
The same four choices work for anyone. What changes the message is how far you turn and how you smile.
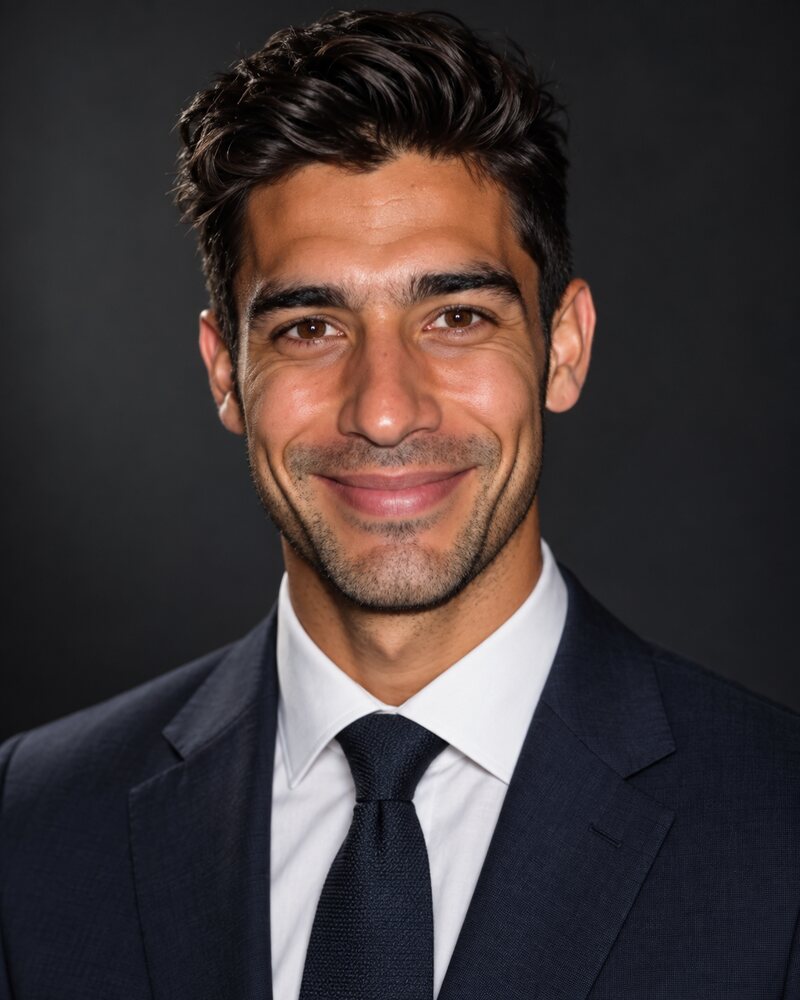
Near square, closed smile: formal.
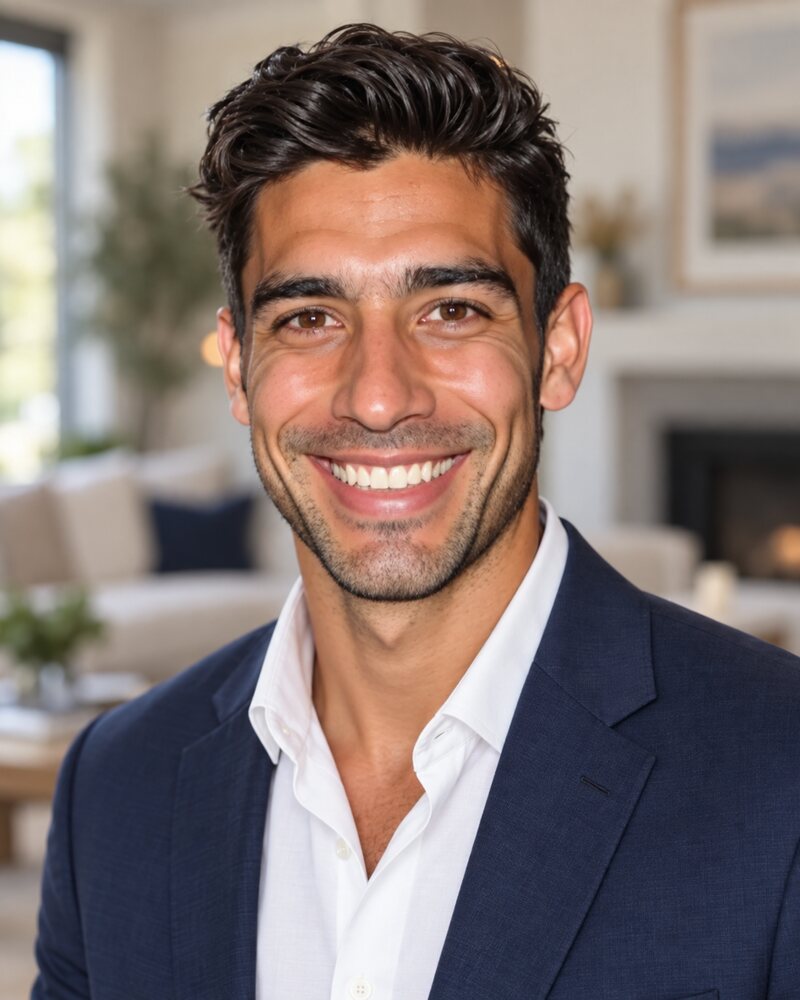
Small turn, open smile: approachable.
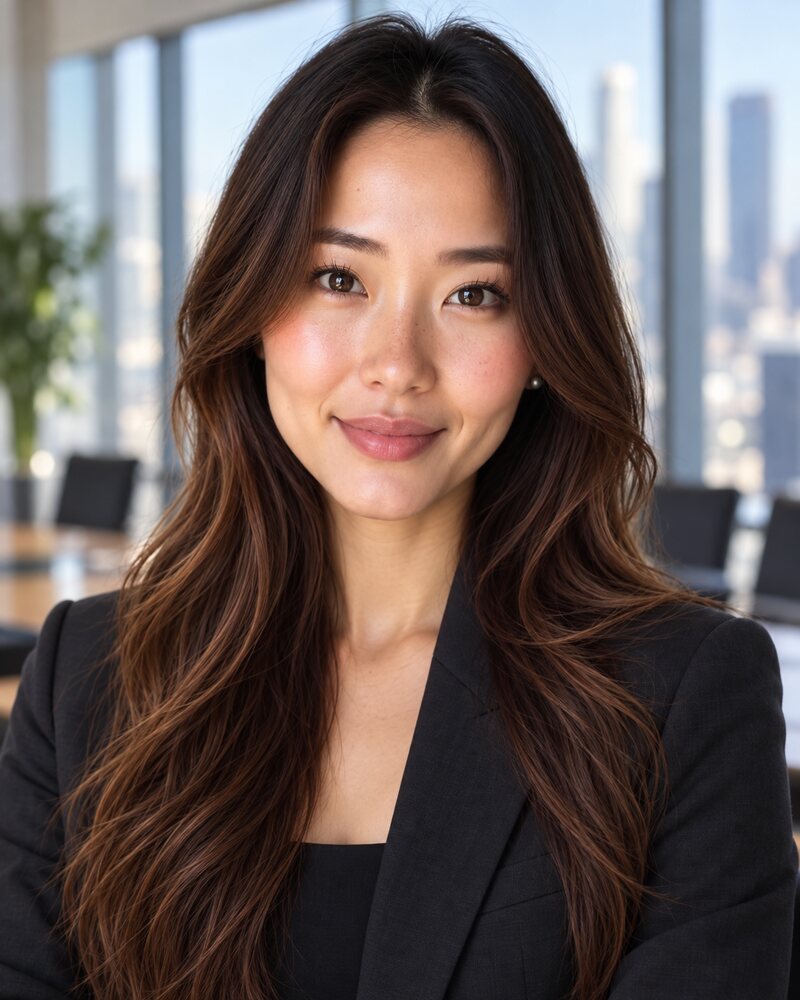
Near square, calm expression: senior.
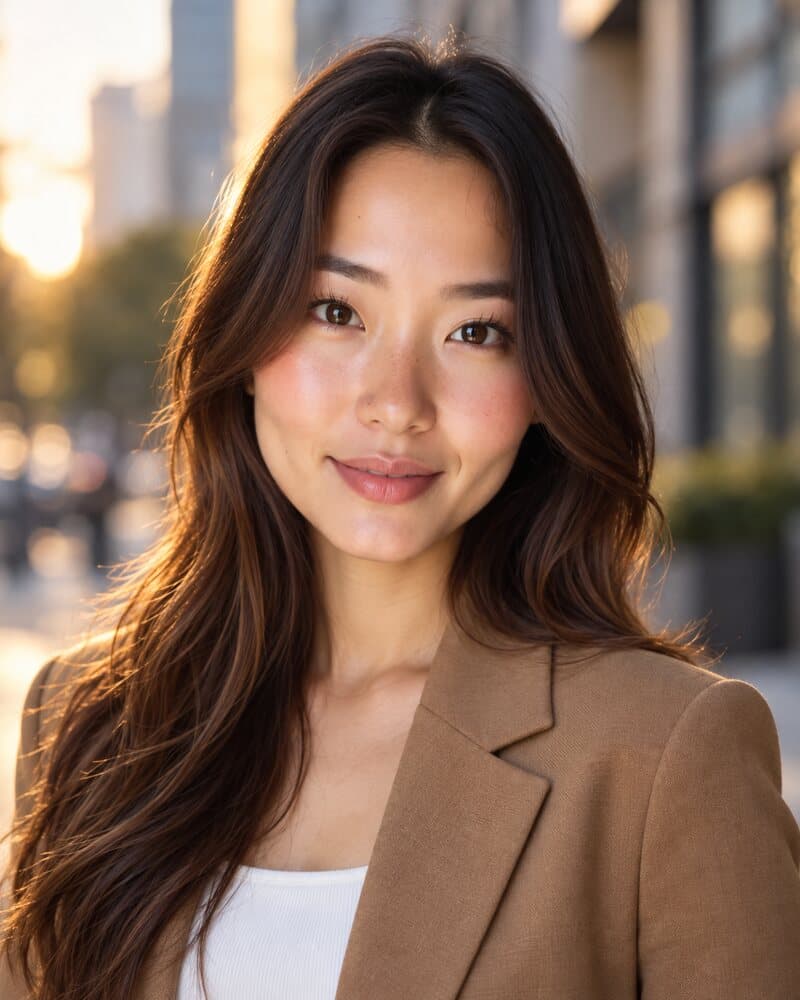
Clear turn, small tilt: relaxed.
Choosing clothes as well? See what to wear for headshots.
Professional headshot poses by use
Pick the pose by where the photo will be seen. A small profile picture needs a tight, simple pose. A website bio has room for hands and a setting.
| Where the photo goes | Pose | Expression | Crop |
|---|---|---|---|
| LinkedIn and other small profile pictures | Shoulders angled, face to camera | Friendly, teeth optional | Tight: head and shoulders |
| Executive and leadership pages | Straight on or a small turn, head level | Calm, closed-mouth smile | Head and shoulders or chest up |
| Real estate and client-facing sales | Angled with arms crossed, or standing three-quarter | Open smile | Waist up, so it also works on signs and cards |
| Company team pages | The same angled pose for everyone | Relaxed smile | Identical crop across the team |
| Creative, founder and speaker bios | Leaning in, seated or over the shoulder | Natural, as if mid-conversation | Wider, with some background |
| Resume or CV photo | Straight on | Neutral to a slight smile | Tight and centred |
There is more on each use on the pages for LinkedIn headshots, executive headshots, real estate headshots, corporate headshots, team headshots and resume photos. For finished photos grouped the same way, see the headshot examples.
Common headshot posing mistakes
Nearly every stiff headshot comes down to one of the habits in the second list.
Do
- Angle your body and bring your face back to the lens
- Lean slightly towards the camera from the hips
- Push your forehead forward and lower your chin a little
- Drop your shoulders and breathe out before each frame
- Keep the camera at eye level or just above
- Take plenty of frames and change one thing at a time
Don't
- Lift your chin or pull your head back
- Hold a smile while you wait for the shutter
- Tilt your head more than a few degrees
- Let your hands hover, clench or press flat
- Put the camera below eye level
- Copy a pose that feels unnatural on you
This is where a photographer earns the fee. They watch for all of it while you think about nothing. If posing makes you tense and the photo matters, such as a press portrait or a leadership shoot, book one. The guide to what headshots cost covers what to budget.
Which poses an AI headshot generator can produce
With an AI headshot generator you do not pose at all, which helps if you freeze in front of a camera. With ours you upload 1 to 3 selfies and choose the look afterwards. You set the pose the same way you set the outfit and background: pick a style from the styles library, or describe it in words, for example shoulders angled, arms crossed, relaxed smile, framed from the waist up.
What to expect:
- Any of the eight poses on this page can be described in a sentence. Poses 1 to 4 need only a few words. For poses 5 to 8, spell out the crop too, such as seated on a stool, framed from the knees up.
- It is a description, not a pose editor. You cannot set an exact angle or hand position, so the photo will not match a reference shot precisely.
- Each photo takes about a minute and uses one credit at standard quality, so trying a second pose costs one more credit.
- If you need a precise pose, a prop, or several people in one frame, a photographer is the better choice.
Try a pose without booking a shoot
Once the pose is settled, the background is the next choice. Compare the options on the headshot backgrounds page, or start from the wider guide to professional headshots.