
The short version
- Face a window in daylight and switch the room lights off. Light does more for the photo than the phone does.
- Prop the phone at eye level about 1.5 m (5 ft) away and use the rear camera on a timer. Arm's-length selfies distort your face.
- Stand a step in front of a plain wall and frame head and shoulders, with room left to crop.
- Take 30 to 50 frames, choose on a big screen, then only crop, straighten and brighten.
- If the room lets you down, the same selfie can be uploaded to an AI headshot generator, which changes the light, background and outfit afterwards.
What you need for a DIY headshot
Nothing on this list costs money if you already own a phone.
- A phone. Any model from the last few years is fine. Wipe the rear lens with a soft cloth first. A greasy lens is the most common cause of a hazy photo.
- A window. The bigger the better, with daylight coming through it but no direct sun.
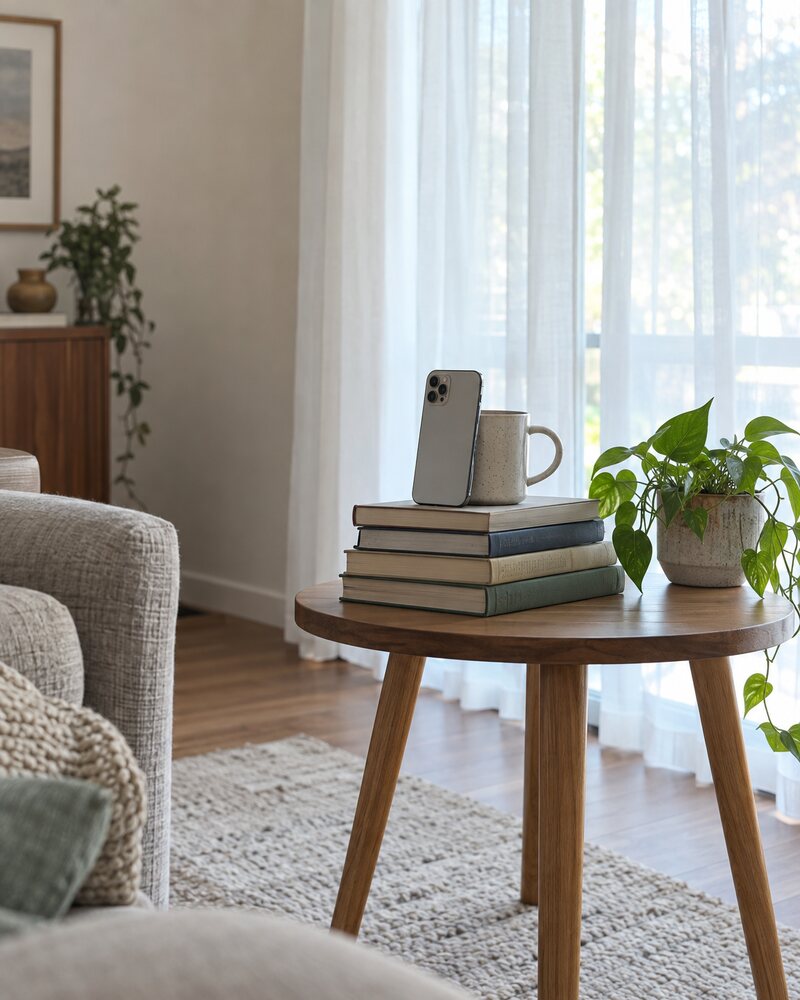
- Something to prop the phone on. A stack of books on a table, a shelf, or a chest of drawers. Lean the phone against a mug so it stands upright. A phone tripod is easier but not required.
- A plain wall facing the window, a few steps back from it.
Wear a solid-colour top that contrasts with the wall, with a neckline you would wear to work. Keep your hair the way you normally wear it and blot any shine on your forehead and nose with a tissue. The guide to what to wear for headshots covers colours and what each industry expects.
The ten-minute plan
- Clear a patch of plain wall near a window and switch off the room lights.
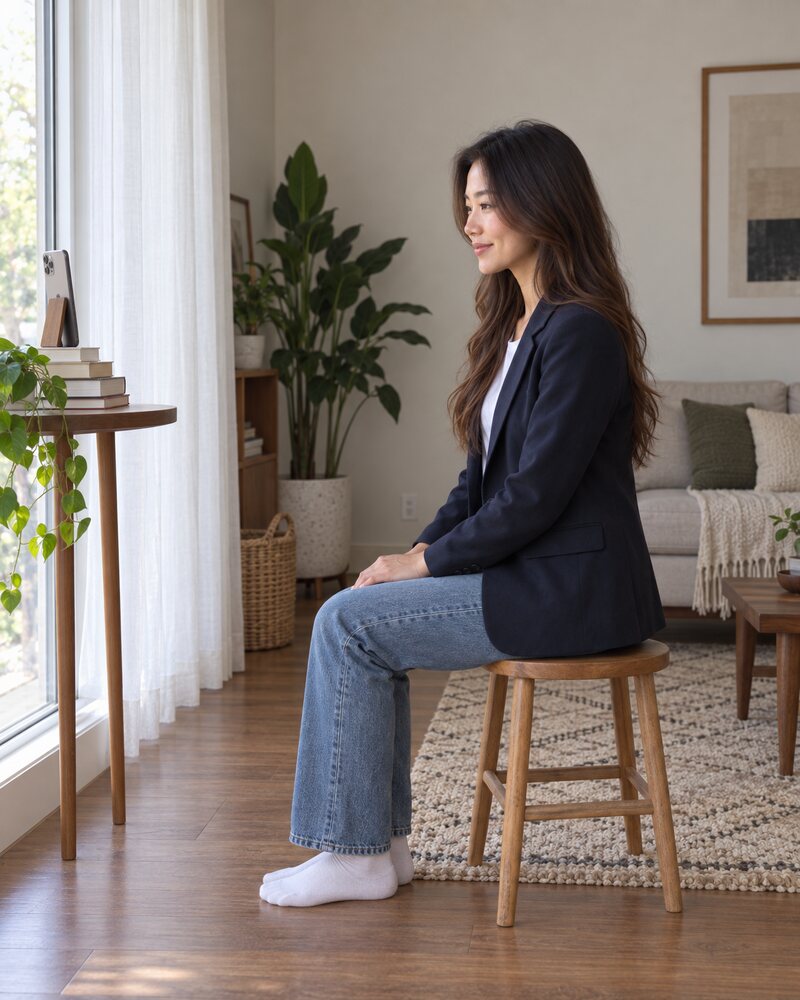
- Prop the phone upright by the window, lens at your eye height, rear camera pointing into the room.
- Sit or stand about 1.5 m from the phone, facing the window, one step in front of the wall.
- Set the timer, take a test frame, and fix the framing.
- Take 30 to 50 frames, changing your expression a little each time.
- Pick one on a larger screen, then crop, straighten and brighten it.
Light: face a window
Light decides more than the camera does. A large, soft light source in front of you fills in the eye sockets, evens out skin and puts a small bright reflection in each eye. A window with daylight but no direct sun is exactly that, and it is free.
Face the window from about 1.5 m back, which leaves room for the phone between you and the glass. If the result looks flat, shift yourself and the phone so the window sits about 45 degrees to one side. One cheek falls slightly into shadow and the face gains shape. Then switch off every lamp and ceiling light. Bulbs are warmer than daylight, and mixing the two leaves orange patches on your skin that the phone cannot correct.
The best time of day
Any time the window is bright but the sun is not shining straight through it. Overcast days are the easiest because the cloud does the softening for you. On a sunny day, use a window the sun is not on: an east-facing one in the afternoon, a west-facing one in the morning. A thin white curtain or a sheet over the glass works too. Stop before dusk. In low light a phone smears fine detail to hide the grain.
Why overhead light and backlight fail
Light from a ceiling fitting comes down across your face. It leaves the eye sockets dark, puts a shadow under the nose and chin, and shines off the forehead. A window behind you fails for a different reason: the phone exposes for the bright glass, so your face goes dark and hazy. If it brightens your face instead, the window turns into white glare around your head.
 Example to avoid
Ceiling light
Dark eye sockets, a shiny forehead and an orange cast.
 Example to avoid
Window behind you
The phone exposes for the glass, so the face goes dark.
 Good example
Facing the window
Same room, same phone. She turned round and switched the lights off.
No usable window? Stand just inside an open doorway or under a porch, facing out. The principle is the same: a big patch of sky in front of you and no sun on your face.
Camera setup on an iPhone or Android phone
These steps are the same on an iPhone and on an Android phone. Only the menu names change.
Use the rear camera, about 1.5 m away
A camera close to your face exaggerates whatever is nearest to it. At arm's length that is your nose, while your ears and jaw shrink back. A 2018 analysis in JAMA Facial Plastic Surgery modelled it: a photo taken 12 inches (30 cm) from the face makes the nose look about 30% wider relative to the face, and at 5 feet (1.5 m) the effect all but disappears.
So prop the phone up, turn it round, and step back. The rear camera is also the sharper one on almost every phone. At 1x you will look small in the frame, which is fine. Use the 2x or 3x lens if your phone has one, or crop afterwards. Do not pinch to zoom, because that is only a crop you cannot undo.
Put the lens at eye level
The lens should be level with your eyes or a couple of centimetres above. Lower, and the camera looks up your nose and thickens your neck and jaw. Much higher, and it reads as a selfie. Keep the phone upright rather than tilted. Sitting on a stool usually makes eye level easier to reach with a table and a few books.
 Example to avoid
Arm's-length selfie
The nose grows, the ears shrink, and an arm creeps into the corner.
 Example to avoid
Lens below the chin
Phone on a low table. It looks up the nose and adds a second chin.
 Good example
Eye level, 1.5 m away
Rear camera on a stack of books. Her face has its real proportions.
Timer, remote and portrait mode
You cannot see the screen with the rear camera, so set the self-timer, walk back, and check the first frame. Adjust and repeat. A Bluetooth shutter remote, or a smartwatch with a camera remote, saves the walking once the framing is right. Leave the flash off.
Portrait mode blurs the background, which helps when the wall is not perfectly plain. Check the edges of your hair and glasses, because that is where the blur goes wrong. On an iPhone, the camera tells you when you are too close or too far, and you can turn the blur down afterwards with Depth Control in Edit (Apple's Portrait mode guide, read October 2026). In front of a plain wall, the normal photo mode gives much the same picture with fewer surprises.
Background, framing and crop
A plain wall in white, grey or off-white is the safest background. Take down picture frames and keep door frames, light switches and radiators out of the shot. Then stand a full step in front of the wall. Your shadow falls on the floor instead of behind your head, and the wall goes slightly soft.
Pick a top that contrasts with the wall: dark on a light wall, light on a dark one. If you want to see what each colour and setting says about you, compare the headshot backgrounds side by side.
Framing
Hold the phone upright, not sideways. Frame from the middle of your chest to a hand's width above your head, with your eyes about a third of the way down. Shoot a little looser than you think you need. You can crop in later, but you cannot add back the top of your hair.
Crop
For a profile picture, crop to a square with your face filling roughly 60% of it, which is LinkedIn's own advice. LinkedIn accepts profile photos from 400 x 400 up to 7680 x 4320 pixels and up to 8 MB, in PNG or JPG (LinkedIn Help, as of October 2026), so even a heavily cropped phone photo is large enough. Most profile pictures are shown as a circle, so keep your hair and chin clear of the corners. Save the uncropped original for a website or CV that needs a different shape. There is more on sizing on the LinkedIn headshots page.
 Example to avoid
Busy background
Shelves, a lamp growing out of her head, and no gap between her and the wall.
 Example to avoid
Too small in the frame
Fine as a starting frame. As a profile picture, the face is a dot.
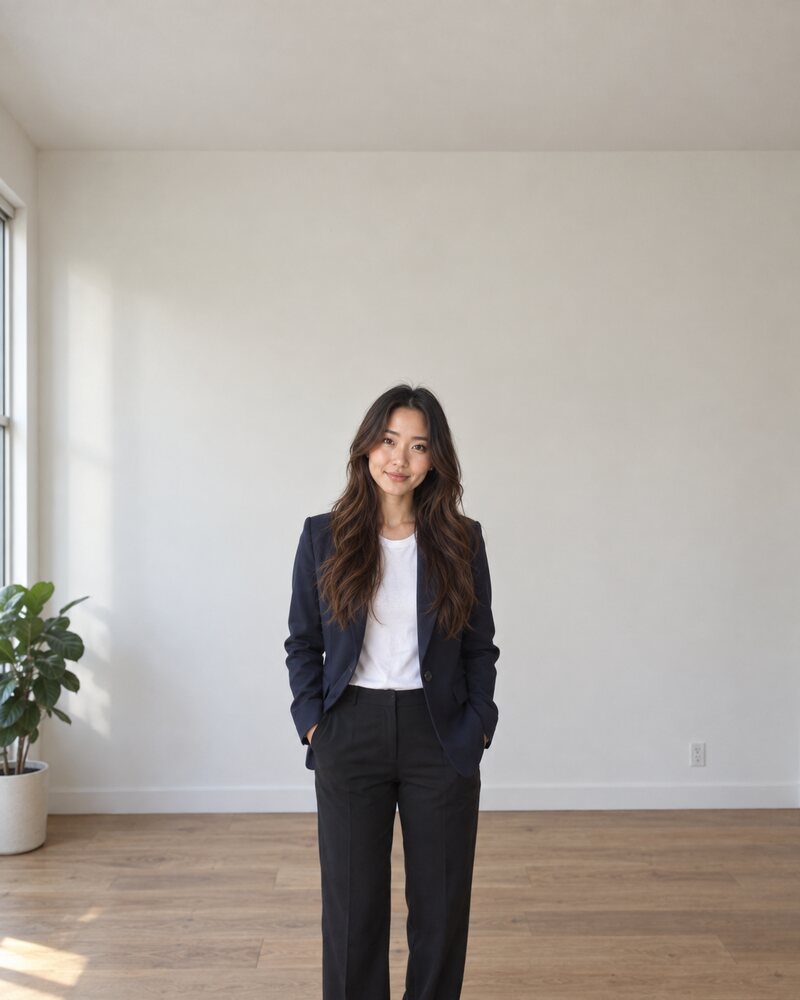
- Good example
Plain wall, tight crop
Plain wall, a step in front of it, cropped from mid-chest to just above the hair.
Take 30 to 50 frames, then pick one
Photographers take dozens of frames to get one good one, and so should you. The first ten are usually stiff. Keep going.
- Posture. Turn your shoulders slightly away from the phone and bring your face back to it. Drop your shoulders. Push your chin a little forward and down to define the jaw. The headshot poses guide shows each one.
- Eyes. Look into the lens, the small glass circle, not at the middle of the phone.
- Expression. Change one thing per frame: a closed smile, an open one, a calm neutral face. Breathe out just before the shutter. The frame right after a real laugh is often the keeper.
How to choose
Move the photos to a laptop or tablet, because everything looks sharp on a phone screen. Delete the blinks and the blurred ones. Zoom in on the eyes of what is left and keep only the frames where they are sharp. Then shrink the finalists to thumbnail size, since that is how most people will see the photo. If you are stuck between two, ask someone who knows you which one looks like you on a good day.
Edit lightly
The editor built into your phone is enough. Work in this order: crop, straighten, brightness, then warmth if your skin looks blue or orange. That should take two minutes. If you are still editing after ten, the problem is the light, and it is quicker to reshoot.
Do
- Crop to head and shoulders
- Straighten until the wall edges are upright
- Lift the brightness until skin looks natural
- Nudge the warmth to remove a colour cast
- Remove a spot that will be gone next week
Don't
- Skin-smoothing and beauty filters
- Reshaping your face, jaw or body
- Colour filters and heavy contrast
- Adding strong background blur afterwards
- Sharpening until the hair looks crunchy
The test is simple. Someone who meets you tomorrow should recognise you from the photo without a second look.
Common DIY headshot mistakes and how to fix them
Most home headshots that look wrong fail in one of a few ways. Find what you see in the left column. The photo pairs in the sections above show what each one looks like.
| What you see | Cause | Fix |
|---|---|---|
| Dark eye sockets, shiny forehead | A ceiling light or lamp above you | Lights off, face the window |
| A dark face against white glare | The window is behind you | Turn round so it is in front of you |
| Orange or patchy skin colour | Room lights mixed with daylight | Switch off every bulb |
| A big nose and small ears | Front camera at arm's length | Rear camera, propped, 1.5 m away |
| A heavy jaw, a view up the nose | Lens below eye level | Raise the phone to eye height |
| Soft or grainy detail | A smudged lens or too little light | Wipe the lens, shoot earlier in the day |
| Objects growing out of your head | Shelves, lamps or frames behind you | Plain wall, one step in front |
| Hair or glasses melting into the wall | Portrait mode misjudging the edges | Reduce the blur or use photo mode |
| Waxy skin with no texture | A beauty filter or heavy retouching | Undo it and fix the light instead |
The shortcut: turn a selfie into a headshot
Everything above is about controlling three things at the moment you press the shutter: light, background and clothes. Sometimes you cannot. The flat is dark, every wall has shelves on it, or the blazer is at the dry cleaner. In that case an AI headshot generator can change all three afterwards, starting from an ordinary selfie.
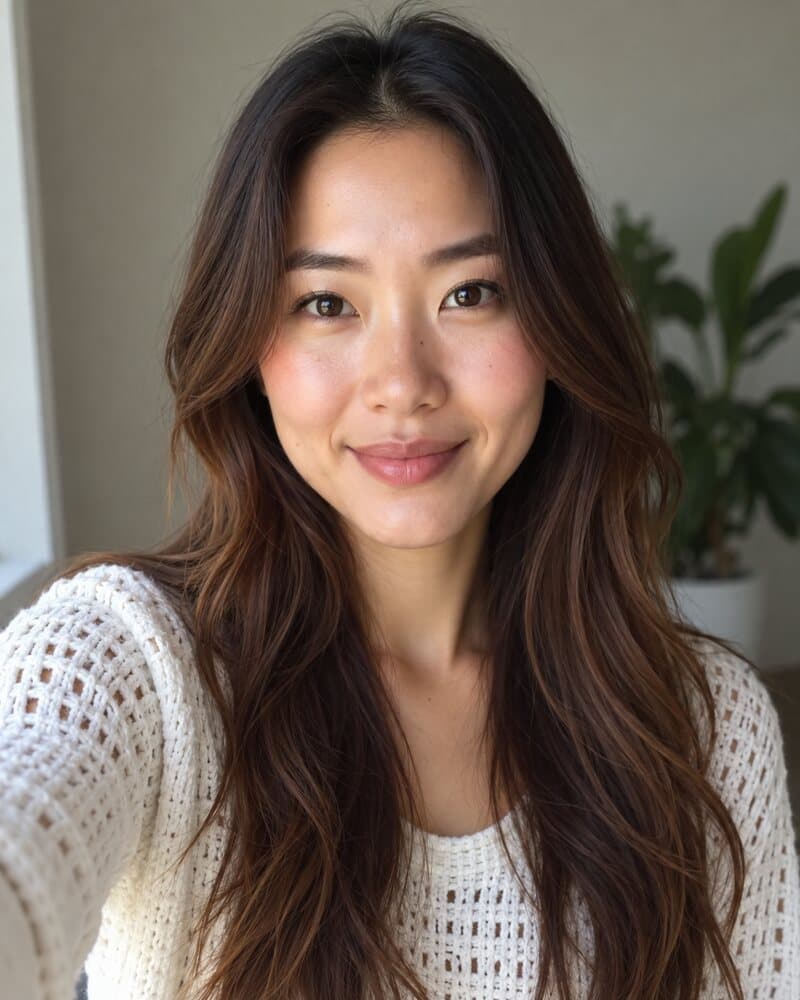
The selfie
An ordinary selfie at home, in a jumper.

Studio style
Generated from it: grey backdrop, black blazer, studio light.

Office style
Same selfie again: cream blouse, blurred office.
Upload the selfie you already took
One credit makes one photo at standard quality. After the free ones, packs are paid once with no subscription, from $9.99 for 20 credits (pricing). You can browse the looks first in the styles library or the headshot examples. A sharp, well-lit selfie still gives a better result, so the advice on light and distance above applies to the photo you upload too.
When a real photo or a photographer is the better choice
A generated headshot is a new picture of you, not a record of a moment. Check that it looks like you before you use it. If you want a photo that is simply you, today, in your own clothes, the window method above is the honest answer and it costs nothing. If the photograph itself is the work, as it is for actors, models and press portraits, hire a photographer. The headshot cost guide shows what that runs to.